


To how to build a conference table successfully, you must calculate 30 inches of width per person and ensure a 48-inch clearance from walls.
Start with a rigid steel or hardwood base, select premium 5/4 thickness lumber for the top, and integrate power modules to support modern hybrid meeting requirements for professional office environments.
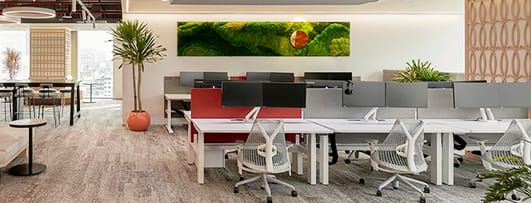
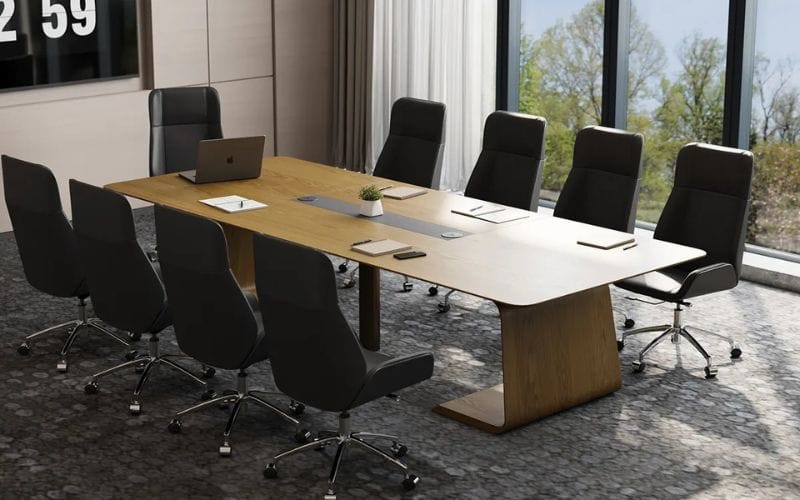
When designing a collaborative workspace, high-quality furniture is essential.
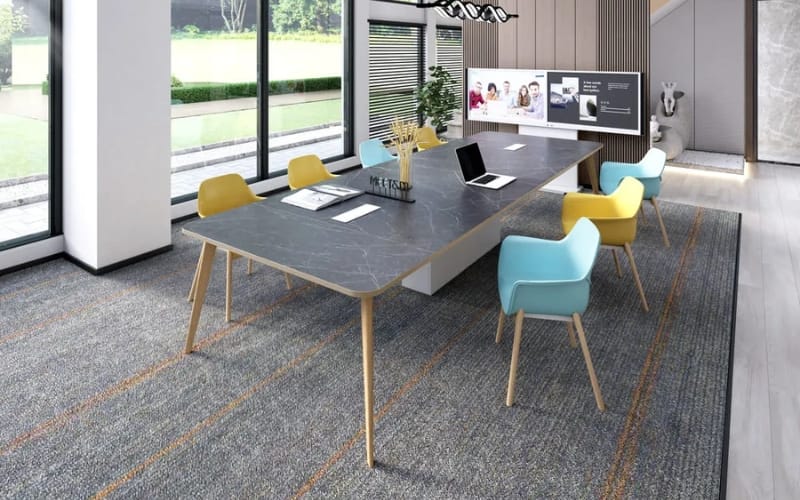
If you are looking for premium pre-made solutions, visit Meet&Co to explore professional designs.
However, for those seeking a bespoke touch, building your own table offers unmatched customization.
A conference table is not just a piece of furniture; it is the strategic hub of decision-making.
According to industry studies, 73% of employees feel that the physical environment, particularly meeting room layouts, directly impacts their creative output.
What You Should Know Before Building a Conference Table
Building a large-scale table requires more than just basic woodworking skills.
It is an engineering challenge involving weight distribution and material stability. One of the most common mistakes DIY builders make is neglecting wood movement.
Solid wood expands and contracts with humidity; failing to account for this leads to “cupping” or structural cracking within 12 months.
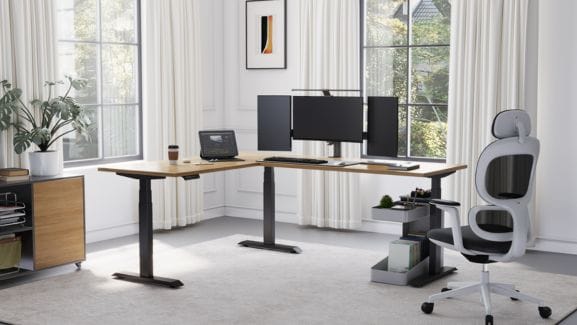
In a professional setting, conference room tables must balance aesthetics with utility.
A table that looks beautiful but lacks legroom or cable management will eventually be replaced.
Data from office ergonomics reports suggest that 40% of meeting frustration stems from poor physical comfort or “tech friction”—the inability to plug in devices easily.
Before you pick up a saw, define your “Core Use Case”: Is this for quick huddles, formal board meetings, or collaborative design sessions?
Conference Table Size Guide (The Golden Standards)
Size is where most DIY projects fail. You must respect the “Zone of Comfort.”
Each participant requires a minimum of 24 inches of horizontal space, though 30 inches is the gold standard for executive-level comfort.
For conference meeting tables, the height should consistently sit between 29 to 30 inches from the floor to the tabletop.
| Group Size | Recommended Length | Recommended Width | Room Clearance (Min) |
|---|---|---|---|
| 4–6 People | 6 ft (72″) | 36″ – 42″ | 10′ x 12′ |
| 8–10 People | 10 ft (120″) | 48″ | 12′ x 18′ |
| 12–20 People | 16 – 24 ft | 54″ – 60″ | 20′ x 30’+ |
Clearance space is equally vital. You must allow at least 48 inches (4 feet) between the table edge and the wall.
This ensures that when someone is seated, another person can walk behind them without disruption.
In high-traffic corporate zones, increasing this to 60 inches is recommended to comply with ADA accessibility guidelines.
Materials Needed for Building a Conference Table
Your choice of material dictates the table’s lifespan and cost.
For a modern conference table, many builders are moving toward a “hybrid” approach—using solid wood for the visible top and engineered steel for the support structure.
Solid Wood: Black Walnut, White Oak, and Maple are the top choices. Walnut offers a luxury feel but is the most expensive.
Plywood & Veneer: A cost-effective alternative. Using Baltic Birch plywood as a core with a high-end hardwood veneer can prevent warping.
Steel Frame: For tables exceeding 8 feet, a wood base often lacks stability. Heavy-duty 2×2 inch square steel tubing is recommended.
Fasteners: Use Z-clips or figure-8 fasteners to attach the top to the base to allow for wood expansion.
Tools Required (DIY vs Professional Setup)
While a basic table can be built with a circular saw, a professional finish requires precision tools.
To achieve a perfectly flat top, a jointer and planer are essential for cleaning up lumber edges.
For the glue-up stage, you will need at least six heavy-duty pipe clamps for an 8-foot table.
A track saw is highly recommended for squaring the ends of the table after assembly, providing a factory-clean edge.
How to Build a Conference Table Step by Step
Step 1 – Designing the Table Frame
The base must support several hundred pounds.
A modular conference table design often uses a “Pedestal” base rather than traditional legs at the corners.
This maximizes legroom and prevents the “knee-bumping” problem.
If using a U-frame, ensure the steel thickness is at least 11-gauge to prevent swaying under heavy loads.
Step 2 – Building the Tabletop
The “Glue-Up” is the most critical phase. Ensure all boards have perfectly square edges.
Use biscuits or Dominos every 12 inches to keep the boards aligned.
Pro tip: Alternate the growth rings of the wood (one up, one down) to neutralize internal stresses that cause bowing.
Step 3 – Assembling the Structure
Never screw the base directly into the wood top without expansion holes.
Drill “oversized” holes in your base and use washers.
This allows the wood to move seasonally without splitting or shearing the screws.
Step 4 – Sanding & Finishing
Start with 80-grit sandpaper to level the surface, then progress to 180.
For office use, a hard-wax oil or a commercial-grade conversion varnish is best.
Offices see heavy use—spilled coffee and dragging laptops require a finish with a high Shore D hardness rating.
Advanced & Budget Methods
From Scratch (Advanced): Focus on “Live Edge” slabs, which require specialized flattening router sleds and butterfly inlays to stabilize natural cracks.
Out of Wood (Beginner): Use a “Torsion Box” design. By sandwiching a grid between two sheets of 3/4″ MDF, you create a top that is light and perfectly flat.
On a Budget: Building for under $200 is possible using “Construction Grade” Douglas Fir. For $500–$1,000, use S3S hardwood from a local lumber yard to save on labor.
Cable Management & Power Integration
Modern meetings are digital. A table without power is an antique. Install “Pop-up” power modules that include AC outlets and USB-C charging.
Use a hole saw with a template to create cutouts.
Beneath the table, install a J-channel cable tray to hide wires. This addition increases the perceived value of the table by 50%.
Common Problems & Solutions
The biggest threat is “Sagging.” A 10-foot span will sag over time due to gravity.
To prevent this, integrate “C-Channel” steel stiffeners into the underside of the tabletop.
If wobbling occurs, ensure your base has adjustable leveling glides to account for uneven office floors.
Final Tips for Professional Success
Prioritize durability over aesthetics. A table that looks good but scratches easily is a failure.
Always plan for the future—design with removable cable trays so you can upgrade tech modules as standards evolve.
In conclusion, creating a custom piece of furniture is a rewarding investment in your company’s culture.
For more inspiration on workspace layouts and professional-grade finishing, visit Meet&Co Office Furniture.
Whether you build it or buy it, the right table will become the heart of your office’s success.
Also see:
Conference Tables vs. Dining Room Tables: The Real Difference
7 Top-Rated Ergonomic Conference Tables for Collaborative Meetings


