


Standing desks diy projects are gaining popularity among home office workers and remote professionals.
Building your own office desk lets you tailor the height, width, and design to your space and workflow, while saving hundreds compared to store-bought models.
This guide covers everything from choosing materials to detailed assembly steps, so even beginners can confidently create a stable, ergonomic standing desk.
Advantages and Challenges of DIY Standing Desks
Advantages:
Cost-effective: Materials for a DIY desk usually cost less than a pre-made desk.
Customizable: Design the desk to fit your room and height requirements.
Creative satisfaction: Personalize finishes, cable management, and storage.
Challenges:
Requires basic DIY skills and tools.
Incorrect assembly can lead to instability.
Material sourcing and precise measuring take time.
Materials and Tools
Materials:
Desktop: solid wood, MDF, or laminate board (length and width per your space)
Legs or adjustable brackets: fixed, manual, or electric lift mechanism
Screws, nuts, corner brackets, washers
Optional: cable trays, drawers, edge banding
Tools:
Drill, screwdriver, measuring tape, level, clamps
Safety gear: gloves, goggles
Tip: Lay out all materials and mark components before starting assembly to avoid mistakes.
Desk Design and Dimensions
Height Recommendations:
Sitting height: ~73–76 cm (for average adult)
Standing height: ~110–120 cm (adjust per your height)
Other Considerations:
Depth: minimum 60 cm to accommodate monitor and workspace
Width: 100–140 cm for multiple monitors or extra workspace
Optional features: corner shelves, under-desk cable management, multi-level surfaces
Ergonomic Tips:
Elbows should bend at ~90° when typing
Monitor top at eye level
Wrists neutral, not bent up or down
DIY Desk Project Examples – Detailed Step-by-Step
Option 1: Simple Wood Panel + Fixed Legs
Materials: Wooden desktop, 4 fixed metal or wooden legs, screws, brackets
Steps:
Measure and Mark: Determine desk height and mark leg positions on the underside of the desktop.
Attach Legs: Position brackets at marked points. Use a drill to secure screws through brackets into the desktop. Clamp if needed.
Level Desk: Place the desk upright and use a level to ensure all legs are even. Adjust if necessary.
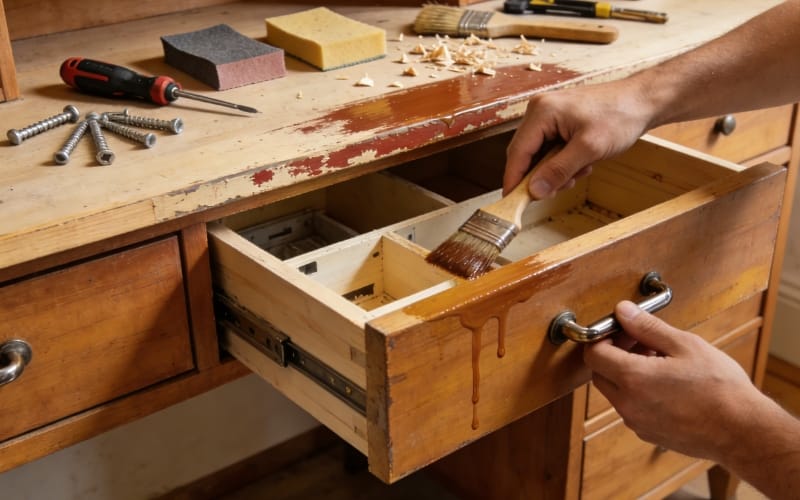
Finishing Touches: Sand edges and corners for safety. Paint or stain if desired.
Notes: Quick and budget-friendly; suitable for fixed-height setups.
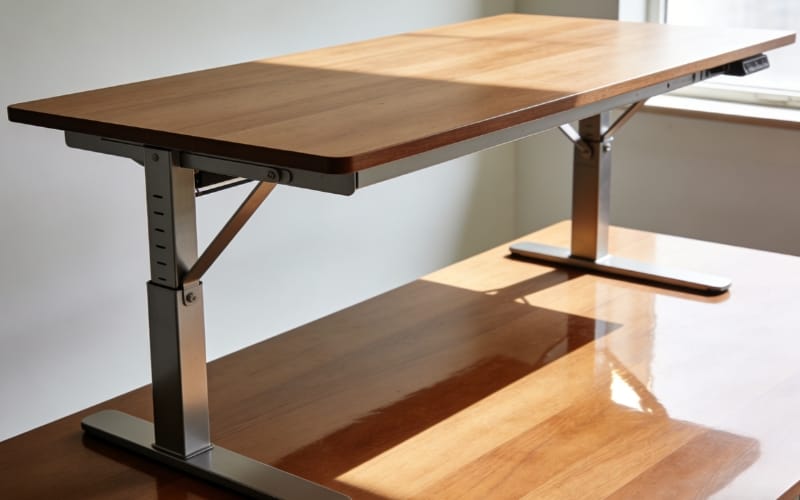
Option 2: Adjustable Metal Legs + Desktop
Materials: Wood desktop, adjustable leg set (manual height adjustment), screws, brackets
Steps:
Attach Brackets: Fix the adjustable legs’ mounting plates to the underside of the desktop at predetermined positions.
Install Legs: Screw legs into brackets securely.
Adjust Height: Set legs to desired standing and sitting heights. Test with a level for balance.
Add Extras: Install cable trays or small drawers under the desk.
Notes: Allows flexibility for multiple users or alternating between sitting and standing.
Option 3: Upcycled Old Desk
Materials: Old desk or table, brackets, leveling blocks, screws
Steps:
Disassemble: Remove drawers or parts that interfere with standing setup.
Reinforce Structure: Add corner brackets to strengthen the frame.
Adjust Height: Use blocks, risers, or adjustable legs to raise the desk to standing height.
Test Stability: Push lightly on all corners and shake to confirm no wobbling.
Notes: Eco-friendly and inexpensive; may require creative adjustments.
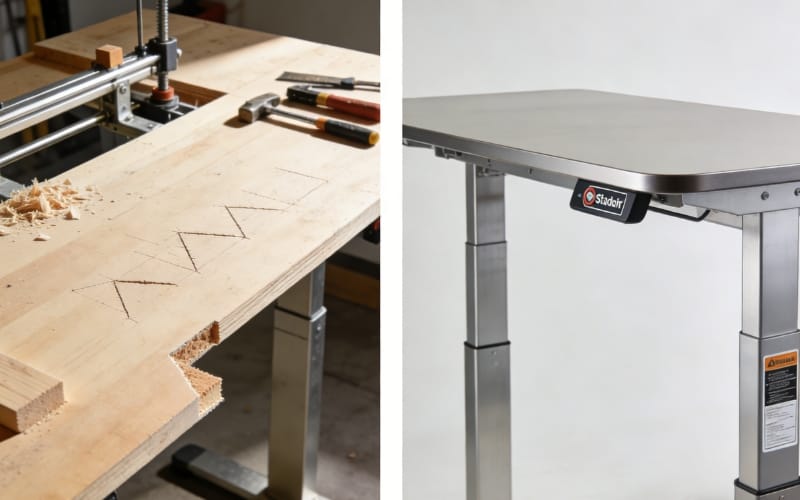
Option 4: Electric DIY Standing Desk
Materials: Desktop, electric lift mechanism, screws, brackets
Steps:
Attach Lifting Mechanism: Secure lift brackets to the underside of the desktop. Follow manufacturer instructions for proper alignment.
Install Desktop on Frame: Mount the desktop to the electric frame carefully, ensuring balance.
Connect Power: Plug in the lift mechanism and test movement up and down.
Final Adjustments: Ensure smooth operation and check all screws for tightness.
Notes: Offers professional-level height adjustment, ideal for frequent sit-stand alternation.
Safety and Maintenance
Shake desk gently to check stability. Tighten screws if needed.
Follow weight limits (usually 50–100 kg depending on materials).
Sand sharp edges for safety.
Inspect screws and moving parts regularly, especially on adjustable or electric desks.
Add rubber feet to reduce wobbling and protect flooring.
DIY vs Store-Bought Comparison
| Feature | DIY Desk | Store-Bought Desk |
|---|---|---|
| Cost | Lower | Higher |
| Customization | High | Medium |
| Ergonomics | Depends on assembly | Professionally designed |
| Aesthetic | Personalized | Standardized |
DIY desks are perfect for personalization and budget-conscious users. Store-bought desks offer guaranteed stability and certified ergonomic designs.
Success Stories
Sarah: Built a corner DIY desk with recycled wood and adjustable metal legs. Alternates between sitting and standing daily, improving posture.
John: Used a small MDF desktop and manual lift legs. Took 2 weekends, cost <$150, fits perfectly in his compact apartment.
Conclusion
DIY standing desks let you explore creative setups, but for guaranteed stability, high-quality materials, and ergonomic design, a professionally made desk is the best choice.
Meet&Co offers a full range of customizable standing desks, designed to meet the needs of any home or office workspace—discover yours today.
FAQ
Usually 50–100 kg depending on materials and leg type.
Yes, using a lift mechanism kit and following instructions.
Absolutely; custom dimensions allow for compact designs.