


In the world of office aesthetics, learning how to cover a file cabinet with contact paper has become a go-to solution for professionals and DIY enthusiasts alike.
Whether you are dealing with a standard metal filing cabinet or an older unit that has lost its shine, contact paper offers a versatile way to match your furniture to your personal style.
By following a few simple steps, you can transform a drab piece of storage into a statement piece that complements a professional workspace.
Why Use Contact Paper to Renovate Your Cabinet?
If you have a sturdy but unattractive cabinet, contact paper is the ultimate “shortcut” to a high-end look without the high-end price tag.
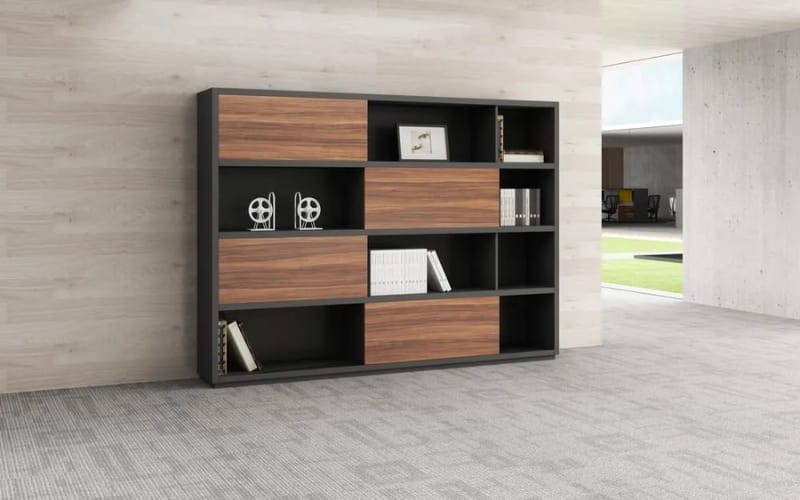
Ugly but Functional: Many a filing cabinet is built to last decades, but their industrial beige or grey finishes often feel outdated.
Easier Than Painting: Unlike spray painting, which requires a ventilated area and hours of drying time, contact paper is mess-free and can be done right in your office.
Low Cost and Reversible: It is significantly cheaper than buying new furniture. Plus, if you decide to change your office theme later, you can simply peel it off.
Before You Start: What You Need
Before you begin your transformation, it is essential to have the right tools.
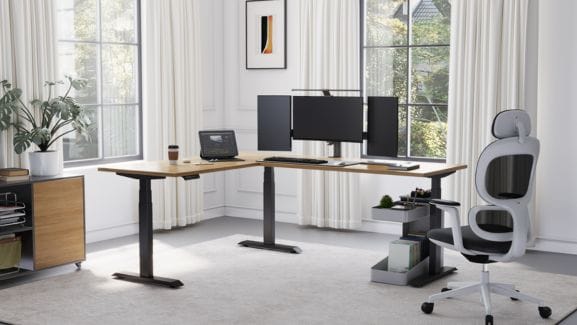
For inspiration on modern office layouts, you can explore the collections at Meet&Co.
Materials
Contact Paper: Opt for high-quality PVC-based paper. If you are updating cabinets for filing in a high-traffic area, choose a brand with a thicker mil for better durability.
Cleaner: Rubbing alcohol or a mild degreaser to ensure a pristine surface.
Tools
Squeegee or Credit Card: Essential for smoothing the surface.
Utility Knife: Ensure the blade is sharp for clean cuts.
Measuring Tape: Accurate measurements are the foundation of a professional finish.
How to Choose the Right Contact Paper (Most Guides Skip This)
Selecting the wrong material can lead to peeling and a “cheap” look. Here is what to look for:
Thick vs. Thin: Beginners should choose a thicker paper. It is more forgiving, easier to reposition, and hides surface imperfections better.
Matte vs. Glossy: Matte finishes are excellent for hiding fingerprints and air bubbles, whereas glossy finishes provide a sleek, modern look but require a perfectly smooth application.
Waterproof/Scratch-Resistant: Look for vinyl-coated options that can withstand the daily wear and tear of a busy workspace or home filing cabinets.
Step-by-Step: How to Cover a File Cabinet
Step 1: Clean and Prep the Surface
Remove all handles and hardware. Use your cleaner to remove every trace of dust, oil, and grime.
Any residue left behind will prevent the adhesive from bonding, leading to early peeling. Let the unit dry completely.
Step 2: Measure and Cut Accurately
Measure the height and width of each panel.
The Pro Margin Rule: Always cut your pieces 1–2cm larger than the actual measurement.
This extra “bleed” allows you to wrap the edges perfectly and compensates for any slight misalignments during the sticking process.
Step 3: Apply Contact Paper Without Bubbles
Do not remove the entire backing at once. Peel back about 5cm of the backing and align the paper with the top edge of the cabinet.
Use your squeegee to press from the center outward to the edges.
Slowly pull the backing away with one hand while smoothing with the other.
Step 4: Smooth and Remove Air Bubbles
Hold your squeegee at a 45-degree angle. If you notice a large bubble, gently lift the paper and re-apply.
For tiny, stubborn bubbles, use the Pin-Prick Method: Poke a microscopic hole in the center with a fine needle and press the air out.
Step 5: Wrap Edges and Corners Perfectly
For corners, cut the paper at a diagonal angle toward the corner of the cabinet.
Fold the flaps over each side for a seamless look. This prevents the edges from catching and peeling over time.
Pro Tips: How to Avoid Bubbles and Peeling
The Hairdryer Trick: Use a hairdryer on a low heat setting to warm the paper. This makes it more pliable, allowing it to stretch slightly around curves and stick more aggressively to the edges.
Temperature Matters: Avoid doing this project in a very cold room, as the adhesive becomes brittle. A room-temperature environment is ideal for the best bond.
Common Mistakes (And How to Fix Them)
Bubbles Multiplying: This happens when you rush. Stop and peel back the paper to where the bubbles started.
Peeling Edges: Usually caused by poor cleaning. You can fix minor lifting with a tiny amount of permanent spray adhesive or a glue pen.
Misalignment: If the pattern looks crooked, don’t try to stretch it to fit. Peel it off and start the panel over.
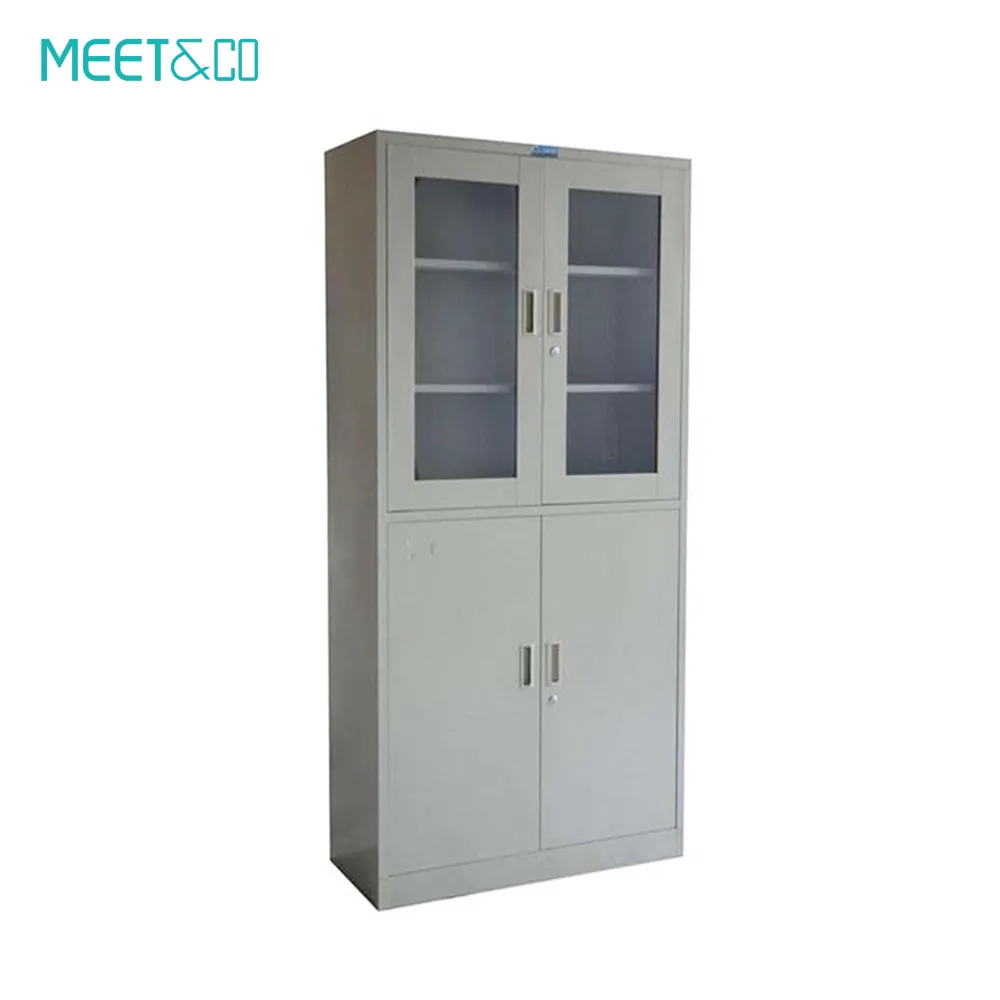
Special Tips for Metal File Cabinets
Metal surfaces are incredibly smooth, which is great for adhesion but makes every air bubble visible.
Unlike a wooden filing cabinet, which might have grain to hide flaws, metal requires a very steady hand.
If your metal unit has rust spots, sand them down first to ensure a flat surface.
Most contact papers are thin enough that your office magnets will still work through the paper!
How Long Does Contact Paper Last on a File Cabinet?
When applied correctly, contact paper can last between 1 to 3 years.
Its lifespan depends on the quality of the adhesive and the environment.
Avoid placing hot coffee mugs directly on the surface or using harsh chemical cleaners, as these can degrade the vinyl over time.
Contact Paper vs. Paint: Which Is Better?
| Feature | Contact Paper | Paint |
|---|---|---|
| Cost | Low | Medium |
| Skill Level | Beginner Friendly | Intermediate |
| Reversibility | High (Peel and go) | Low (Requires stripping) |
| Time | 2-3 Hours | 24-48 Hours (including drying) |
Cost Breakdown: Is It Worth It?
To wrap a standard modern filing cabinets unit, you will spend roughly $20–$40 on materials.
Compared to the $200+ price tag of a new designer cabinet, the ROI is exceptional.
It is a high-impact, low-cost way to modernize your office during a single weekend.
FAQ
Can you remove contact paper later? Yes, most brands are designed to be removable without damaging the paint underneath.
Will it damage the cabinet? Generally no, it actually acts as a protective layer against scratches.
Can you use it on wood cabinets? Absolutely, as long as the wood is sealed or painted.
Conclusion
Mastering the art of how to cover a file cabinet with contact paper is an empowering way to reclaim your workspace.
It bridges the gap between boring utility and personal style.
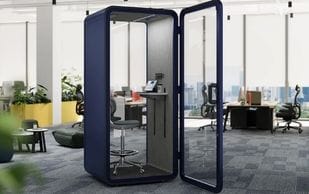
If you find that your office requires a more comprehensive upgrade beyond DIY projects, consider the professional solutions offered by Meet&Co Office Furniture, where we specialize in creating workspaces that inspire productivity and growth.