


Office pods have become essential for modern workplaces, offering quiet, private spaces within open-plan environments. But buying the pod is only half the journey. Proper installation—from choosing the right location to ensuring adequate power and ventilation—determines whether your pod becomes a productivity booster or an underused eyesore.
Unlike traditional construction, office pods are designed for quick, non-disruptive installation. Yet there are critical decisions to make before the pod arrives. This Meet&Co guide walks you through the entire process, from placement strategy to power requirements, so your pod integrates seamlessly into your workspace.
Why Installation Planning Matters
A poorly placed pod can disrupt traffic flow, feel cramped, or even become unusable due to inadequate power or ventilation. Proper planning ensures:
-
User comfort: Adequate space inside and outside the pod
-
Accessibility: Compliance with local codes and wheelchair access
-
Safety: Clear egress routes and fire safety
-
Functionality: Reliable power, lighting, and ventilation
-
Aesthetics: Integration with existing office design
Taking time to plan upfront saves costly rework later.
Meet&Co Office Pod Series A
Step 1: Choose the Right Location
Placement is the most critical decision. Consider these factors.
Traffic Flow and Accessibility
-
Avoid high-traffic corridors: Pods placed in busy walkways create congestion and reduce privacy.
-
Leave clearance: Allow at least 36–48 inches of clear space in front of the pod entrance for easy access and wheelchair maneuverability.
-
Escape routes: Ensure the pod does not block fire exits or emergency pathways.
Proximity to Users
Place pods near the teams that will use them, but not so close that noise from the pod (or into the pod) becomes an issue. A pod for quiet focus works well near quiet zones; a phone booth may be better placed near collaborative areas.
Floor Loading
Most office pods weigh between 200 and 800 kg (440–1,760 lbs), depending on size and materials. Verify that your floor can support the load, especially in older buildings. Consult a structural engineer if unsure.
Natural Light and Views
While pods are enclosed, placing them near windows allows users to enjoy daylight through glass panels. Avoid blocking window views for the rest of the office.
Noise Considerations
If your pod will be used for confidential calls, place it away from noisy equipment (printers, break areas) and consider adding additional acoustic treatment around the pod.
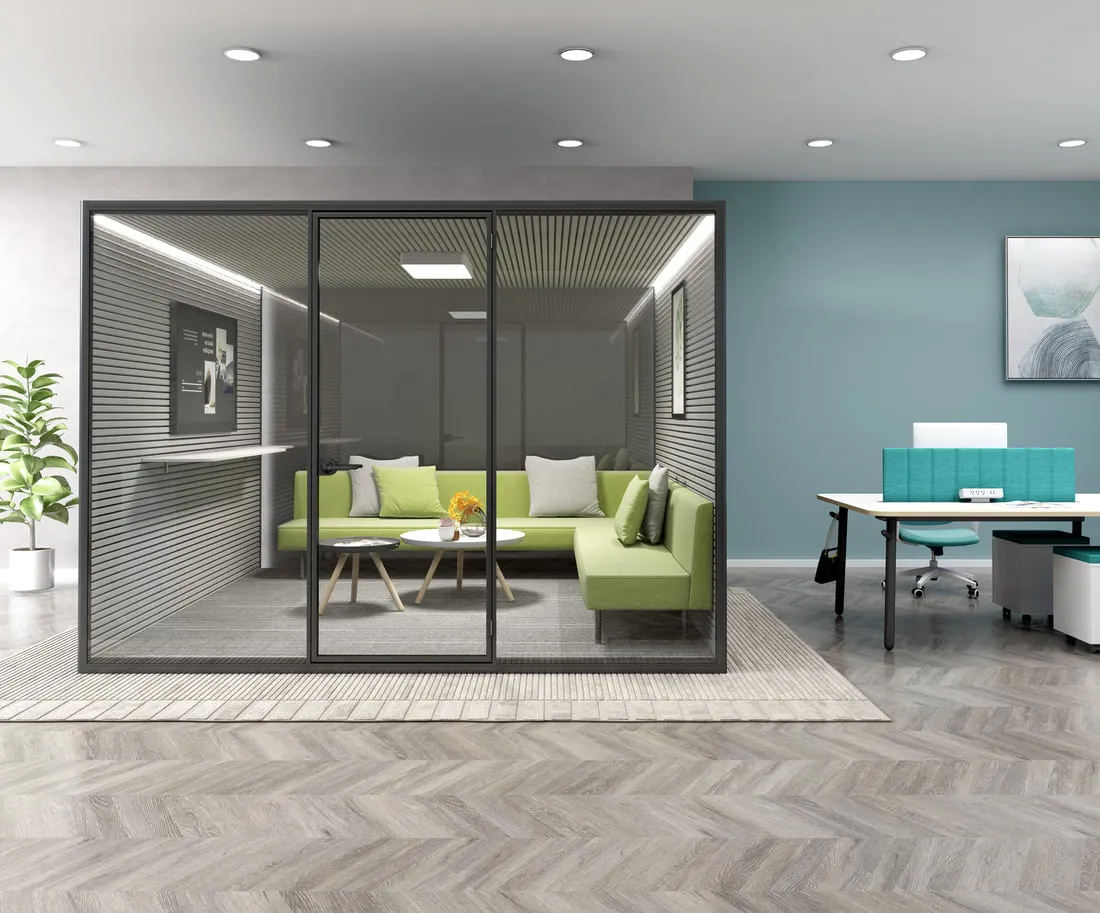
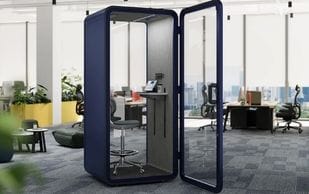
Meet&Co Office Pod Series A
Step 2: Understand Power Requirements
Office pods come with integrated electrical systems: lighting, ventilation fans, USB ports, and power outlets. They need to connect to your building’s electrical supply.
Standard Power Specifications
Most pods require a standard 110V–240V AC outlet (depending on region) and typically draw between 150–500 watts. Check the manufacturer’s specifications for exact amperage.
| Pod Type | Typical Power Draw | Connection |
|---|---|---|
| Single-person phone booth | 100–200W | One standard outlet |
| 2–4 person meeting pod | 200–400W | One or two outlets |
| Large 6–8 person pod | 400–800W | May require dedicated circuit |
Also see: Phone Booth vs. Focus Booth vs. Meeting Pod: What’s the Difference?
Cord Management
Pods usually come with a pre-wired power cord (6–15 feet) that exits through the base or ceiling. You’ll need to route this cord to a wall outlet or floor box. Options include:
-
Underfloor power: Use floor outlets or poke-through devices if the pod is not against a wall.
-
Wall outlet: Position the pod close enough to a wall outlet to plug in without creating a trip hazard.
-
Ceiling drop: Some pods allow power to be dropped from the ceiling using a pendant or cable management system. This keeps the floor clear but requires professional installation.
Dedicated Circuits and Surge Protection
For larger pods or multiple pods on the same circuit, you may need a dedicated electrical circuit to avoid tripping breakers. Use surge-protected outlets or power strips to protect internal electronics.
Data and Network Connectivity
If the pod will be used for video calls or networked devices, consider running Ethernet cables alongside power. Many pods have pre-installed cable passthroughs. Wireless connectivity is often sufficient, but a wired connection ensures reliability.
Step 3: Plan for Ventilation and HVAC
Office pods are enclosed spaces; without proper airflow, they become stuffy and uncomfortable.
Integrated Ventilation
Most pods have built-in, silent ventilation fans that exchange air with the surrounding office. These fans typically run continuously when the pod is occupied and are powered through the same electrical connection.
HVAC Considerations
-
Placement near vents: Position pods away from HVAC supply or return grilles to avoid interfering with airflow.
-
Additional cooling: In open offices with consistent climate control, pod ventilation is usually sufficient. In warmer climates or pods with full glass walls, additional fan-powered ventilation may be needed—check manufacturer specs.
Temperature and Humidity
Avoid placing pods near exterior windows with direct sunlight, which can overheat the interior. If necessary, install window film or blinds to reduce heat gain.
Step 4: Prepare the Site Before Delivery
Once the pod arrives, installation goes fastest if the site is ready.
Floor Preparation
-
Clear the area: Remove any furniture, rugs, or obstacles from the installation zone.
-
Floor leveling: The pod requires a level floor. Use self-leveling compound if necessary.
-
Floor protection: If the pod will sit on carpet, ensure it’s clean and flat. Some pods come with adjustable feet to level on uneven surfaces.
Access and Delivery Path
Measure doorways, hallways, and elevator dimensions to ensure the pod can be moved into place. Most pods come in pre-assembled sections that can fit through standard doorways (typically 32–36 inches wide). Confirm with the manufacturer.
Mark the Layout
Use tape to outline the pod’s footprint and the required clearance zones. This helps visualize traffic flow and ensures there are no obstructions.
Also see: Top 5 Office Pod Mistakes to Avoid in 2026
Step 5: Installation Process Overview
Installation steps vary by manufacturer, but the general process is:
1. Unpack and Inspect
-
Check all components against the packing list.
-
Inspect for shipping damage; document any issues immediately.
2. Assemble Base and Frame
-
Most pods have a modular frame that bolts together.
-
Follow manufacturer instructions for tightening torque.
3. Install Panels and Door
-
Attach acoustic or glass panels to the frame.
-
Install the door and check for proper alignment and sealing.
4. Connect Electrical and Ventilation
-
Plug in internal electrical components; test lighting, fans, and outlets.
-
For pods with integrated smart controls, connect to Wi-Fi or network as instructed.
5. Level and Secure
-
Adjust leveling feet to ensure the pod is stable on the floor.
-
Some pods can be anchored to the floor for added stability (optional).
6. Final Clean and Test
-
Clean all surfaces.
-
Test all features: lights, ventilation, power outlets, USB ports, door operation.
Timeframe: Small pods (1–2 person) typically take 1–3 hours to assemble; larger pods may take 4–8 hours with a two-person team.

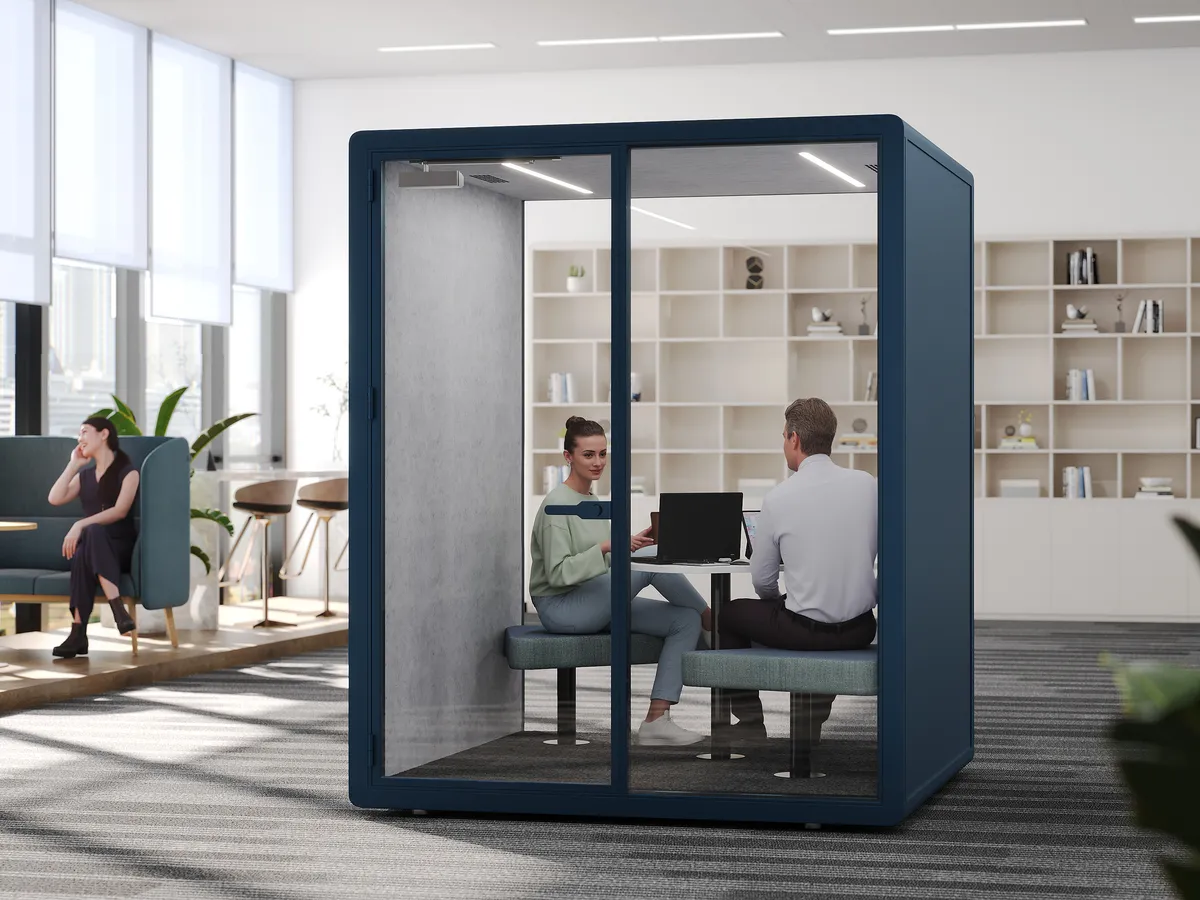
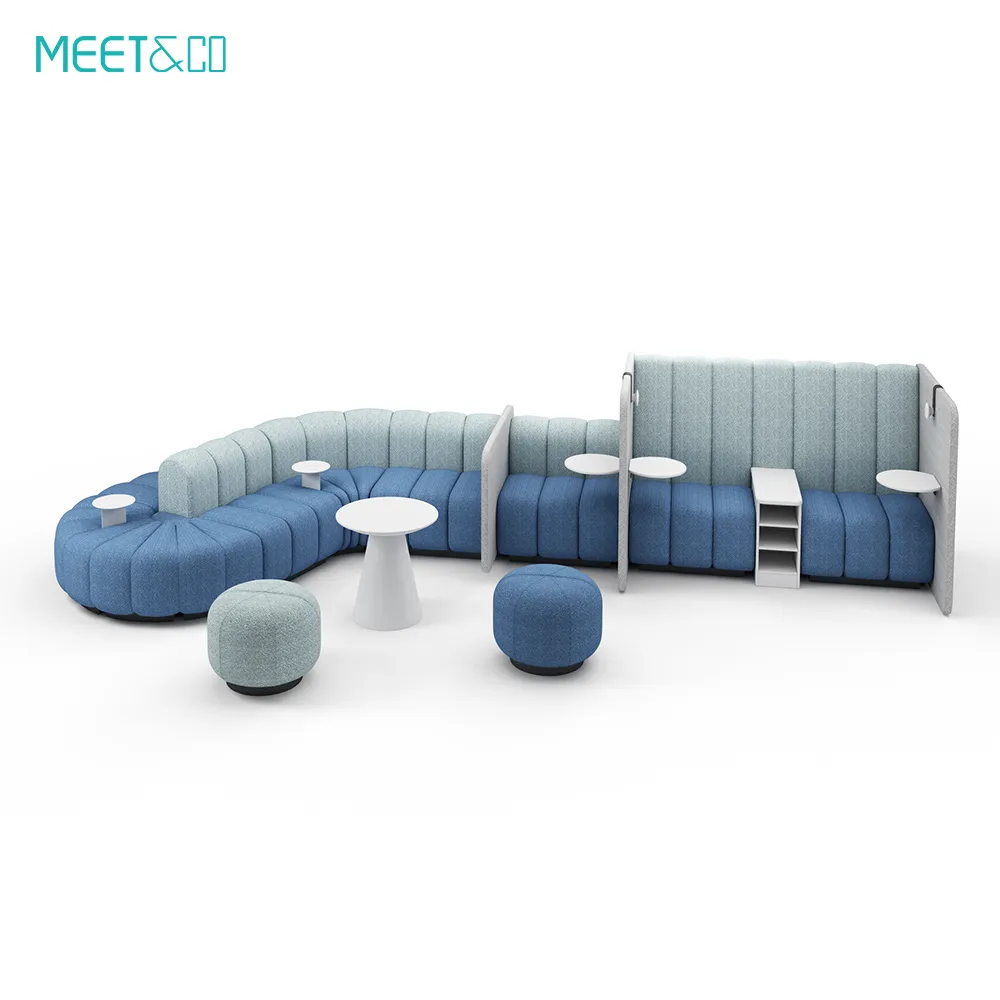
Meet&Co Office Pod Series D
Step 6: Post-Installation Checklist
After installation, verify:
-
Electrical: All outlets and USB ports function; no tripped breakers.
-
Ventilation: Fan operates quietly and air exchange feels adequate.
-
Lighting: LED lights work and are not flickering.
-
Door: Opens and closes smoothly; seals properly for acoustics.
-
Acoustic performance: Test sound privacy by having someone speak inside while you listen outside. If performance is below expectations, check seals and panel connections.
-
Safety: No sharp edges, pinch points, or trip hazards from power cords.
Common Installation Mistakes to Avoid
| Mistake | Consequence | Prevention |
|---|---|---|
| Insufficient clearance around pod | Blocks traffic; inaccessible for wheelchairs | Follow manufacturer clearance guidelines (minimum 36” in front) |
| Placing pod under HVAC vent | Uncomfortable drafts or temperature swings | Locate away from direct airflow |
| Using extension cords for power | Fire hazard; may void warranty | Install dedicated outlet or use manufacturer-approved cord management |
| Ignoring floor load capacity | Structural damage | Verify floor specs; use load-spreading base if needed |
| Skipping leveling | Door misalignment; poor acoustics | Use leveling feet or shims during installation |
| Blocking emergency exits | Safety violation | Always maintain clear egress paths |
Frequently Asked Questions
1. Do I need a permit to install an office pod?
In most commercial settings, office pods are considered freestanding furniture and do not require a building permit. However, if you modify electrical systems (e.g., add new outlets) or if the pod is larger than a certain size, local codes may require permits. Check with your facilities department or local authority.
2. Can I install an office pod on carpet?
Yes. Most pods work well on carpet, provided the carpet is not excessively thick or uneven. Use leveling feet to stabilize the pod. For heavy pods, consider using a hard mat underneath to prevent indentation and ensure stability.
3. How much clearance do I need around the pod?
Manufacturers typically recommend at least 36 inches of clear space in front of the door for access and wheelchair maneuverability. Sides and back may require less (6–12 inches) for ventilation and maintenance access. Always verify with the specific pod model.
4. What power requirements do office pods have?
Most pods plug into a standard wall outlet (110–240V, 15–20A). Larger pods may require a dedicated circuit. Confirm amperage draw with the manufacturer; many pods use between 2–5 amps. Always use a surge-protected outlet.
5. How do I ensure proper ventilation?
Pods come with built-in silent fans that exchange air with the surrounding room. Ensure the pod is not placed in an area with restricted airflow (e.g., tight corners) and that the fan intake/exhaust is not blocked. In offices with poor overall ventilation, additional HVAC may be needed.
6. Can I move the pod after installation?
Most pods are designed to be relocatable. They can be disassembled and reassembled in a new location by a trained installer. However, moving a pod is not a trivial task—it requires careful handling to avoid damage. If you anticipate frequent moves, consider a modular system with casters or a portable design.
7. How do I maintain the pod after installation?
Regularly clean interior surfaces, check door seals for wear, test electrical components, and ensure ventilation fans are dust-free. Follow the manufacturer’s maintenance schedule. With proper care, office pods typically last 10–15 years.
Conclusion
Installing an office pod is a straightforward process when you plan ahead. The three pillars of successful installation are:
-
Placement: Choose a location with adequate clearance, good traffic flow, and structural support.
-
Power: Ensure the pod has access to a suitable electrical outlet, and consider dedicated circuits for larger pods.
-
Ventilation: Allow airflow around the pod and verify that built-in fans function correctly.
By following this guide, you’ll avoid common pitfalls and create a quiet, functional space that employees will actually use. Whether you’re adding a single phone booth or outfitting an entire floor with meeting pods, proper installation sets the stage for years of productive, comfortable work.
Need help installing office pods in your workspace? Contact our team for professional placement advice, electrical planning, and installation services.

-加USB_25.webp)